Workshop Renovation
It's been a busy time at Sylva Spoon HQ. I've been out harvesting birch bark, busy attending the Madison Farmers' Market, best man at a wedding. And, after just two years here, I've finally made some updates to my workshop.
My workshop is a 19'x13' garage in our back garden. If it was built around the same time as the house, then it's about 70 years old. Apart from a couple of windows at the back and about 200 nails, I don't think anything's been done to the inside of the space in all that time.
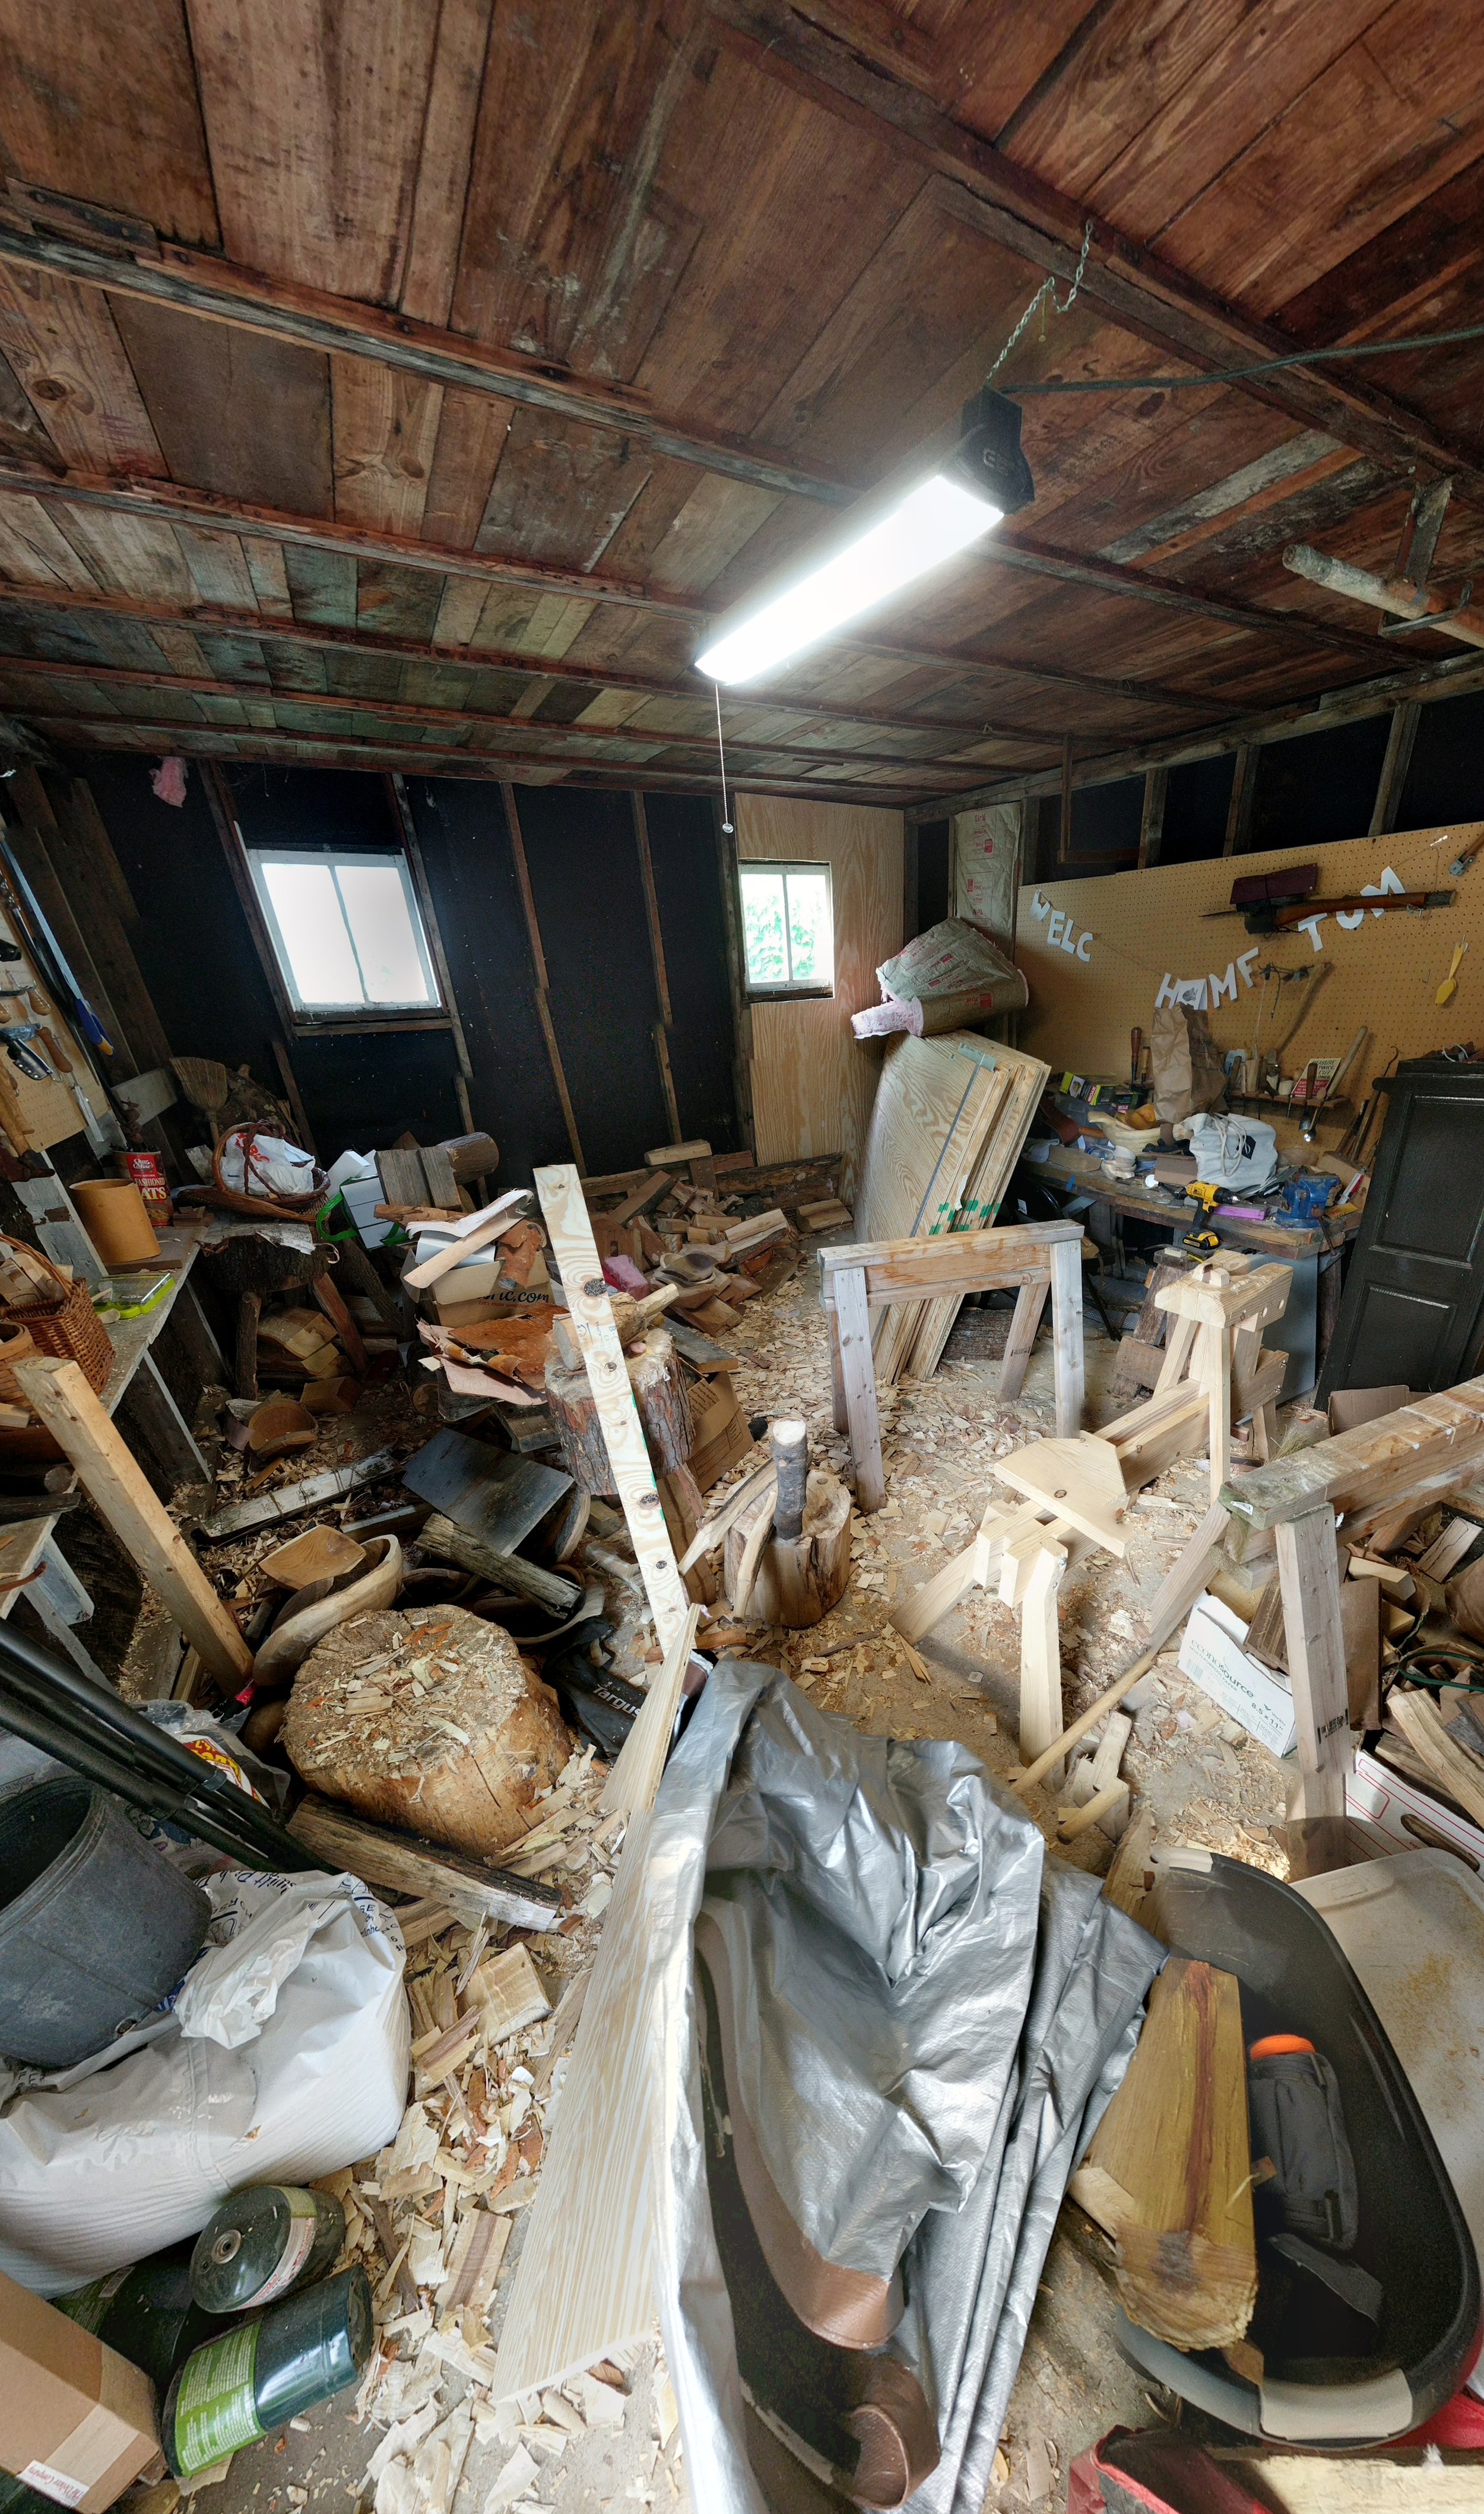
The great thing about spoon carving is that all you really need is a chopping block. It doesn't take up a lot of room. Aside from the axe work, everything else can be done in your lap. Holding devices like a spoon mule help speed up the process, and these days I'm turning on a pole lathe too. So the space starts to fill up. I've also got spare chopping blocks for carving classes and a shave horse. Add a couple of weeks of wood shavings and all of a sudden my workshop looks like this:
Alongside having a generally tidier space, I wanted to insulate and add windows. It was a little dark in there and the workshop didn't really hold heat at all. Last year I did insulate the loft area, which certainly helped, but the walls probably had an R-value of about 1. The winters here can be a little chilly, and being able to use my workshop year round will be nice.
That I was able to start work on my shed was more down to chance than anything else. Our household automobile is a 2002 Honda Civic. A car as reliable as it is boring. While I've been able to fit an impressive amount in the Honda, strapping fourteen 4'x8' plywood panels to the roof seemed like a bad idea.
Two weeks ago my wife took a road trip with her Dad to see family in North Carolina. They were in her folks' Camry. They also have a second vehicle, a Chevy truck. Courtney's Mum didn't want to drive the truck for the week Court and her Dad were road tripping. So we gave them the Honda and I took the truck.
So I took the opportunity to load up on plywood. I didn't plan on starting the renovations right away. I still had to balance workshop updates with the ongoing need to produce stock for the Farmers' Market. I do know myself pretty well though. I'm pretty lazy. Don't do today what you can put off till tomorrow and all that. I had to do something to make sure they plywood didn't lie around untouched for a year or two.
I stacked the plywood in the workshop neatly in the most awkward place possible without actually making the place unusable. Fourteen plywood boards is a lot of wood to shift, so it wasn't a pile I was going to idly shift around the workshop. I think I lasted about a week before starting work.
Alongside the insulation and plywood, I wanted to add some windows. I wanted to squeeze them in between studs, so I didn't have to mess around with cutting studs and building headers. That limited the size of the windows I could get. I'd been frequenting our local Habitat for Humanity store (a charity shop that sells donated building supplies) for a while, looking for windows. I hadn't had much luck and new windows were a little more than I was willing to spend. Eventually I remembered that there were a bunch of old window inserts in the loft of the workshop. A fair few of them were broken, but plenty were fine for my use.
I lugged down four matching windows and made my own double glazing. It's not the prettiest, but compared to the windows already installed, they're not bad. They also let in a lot more light that the walls. I did buy one new window to fill a narrow gap, bringing the total new windows up to three.
The workshop has aluminium siding. The proper way to install a window would be to remove the siding, cut the rough opening, measure and cut the siding and reattach it. After some internet research, I discovered that a backwards-facing plywood blade on a circular saw does a tidy job of cutting through aluminium siding. So I did that instead.
With the windows in, I could finish putting up the plywood. Derek came over to help for an afternoon, which sped things up a lot. All in all, I'd say it probably took me about 60-80 hours to do. Now I've got some nice shelving, my tools can all be hung straight on the walls, and there are areas for different tasks.
The workshop will always be an evolving space, but I'm rather pleased with how it's looking.


