
How To Build A Pole Lathe

The new pole lathe
In 237 Easy Steps
My first pole lathe was a bit of a monstrosity. It was entirely handmade. As far as I'm aware, the only power tool involved was the chainsaw the city parks folks used to cut down the tree. I was lucky enough to get hold of a medium sized ash tree, about 28" diameter, maybe 10 foot long.
By hand I split it down into planks about 3" thick. The planks were 'smoothed' with a hewing axe. In one of these planks I used a crosscut saw to rip cut the channel for the poppets. The holes for the legs were bored with an auger. It was a great experience to go from log to lathe with just hand tools. But never again.
So this is a brief account of how I built my new lathe. Feel free to use it as inspiration for building your own lathe.
This time round I wanted to start with dimensional lumber. You want a pretty substantial lump of wood for the base. It's useful for it to be heavy enough not to move much when spinning larger pieces of wood. I wanted a 10"x4" length of wood in something like oak, ash or maple. Not the kind of thing Home Depot stocks. So I called a timber framer friend of mine, Mike Yaker. For him, 10x4s are small. I wanted his advice on where to go to buy such a piece. As it turned out, he had some oak boards in that size he was willing to trade for. I popped over to his workshop, got massive workshop envy, gave him some treen and walked away with a 9' oak board.
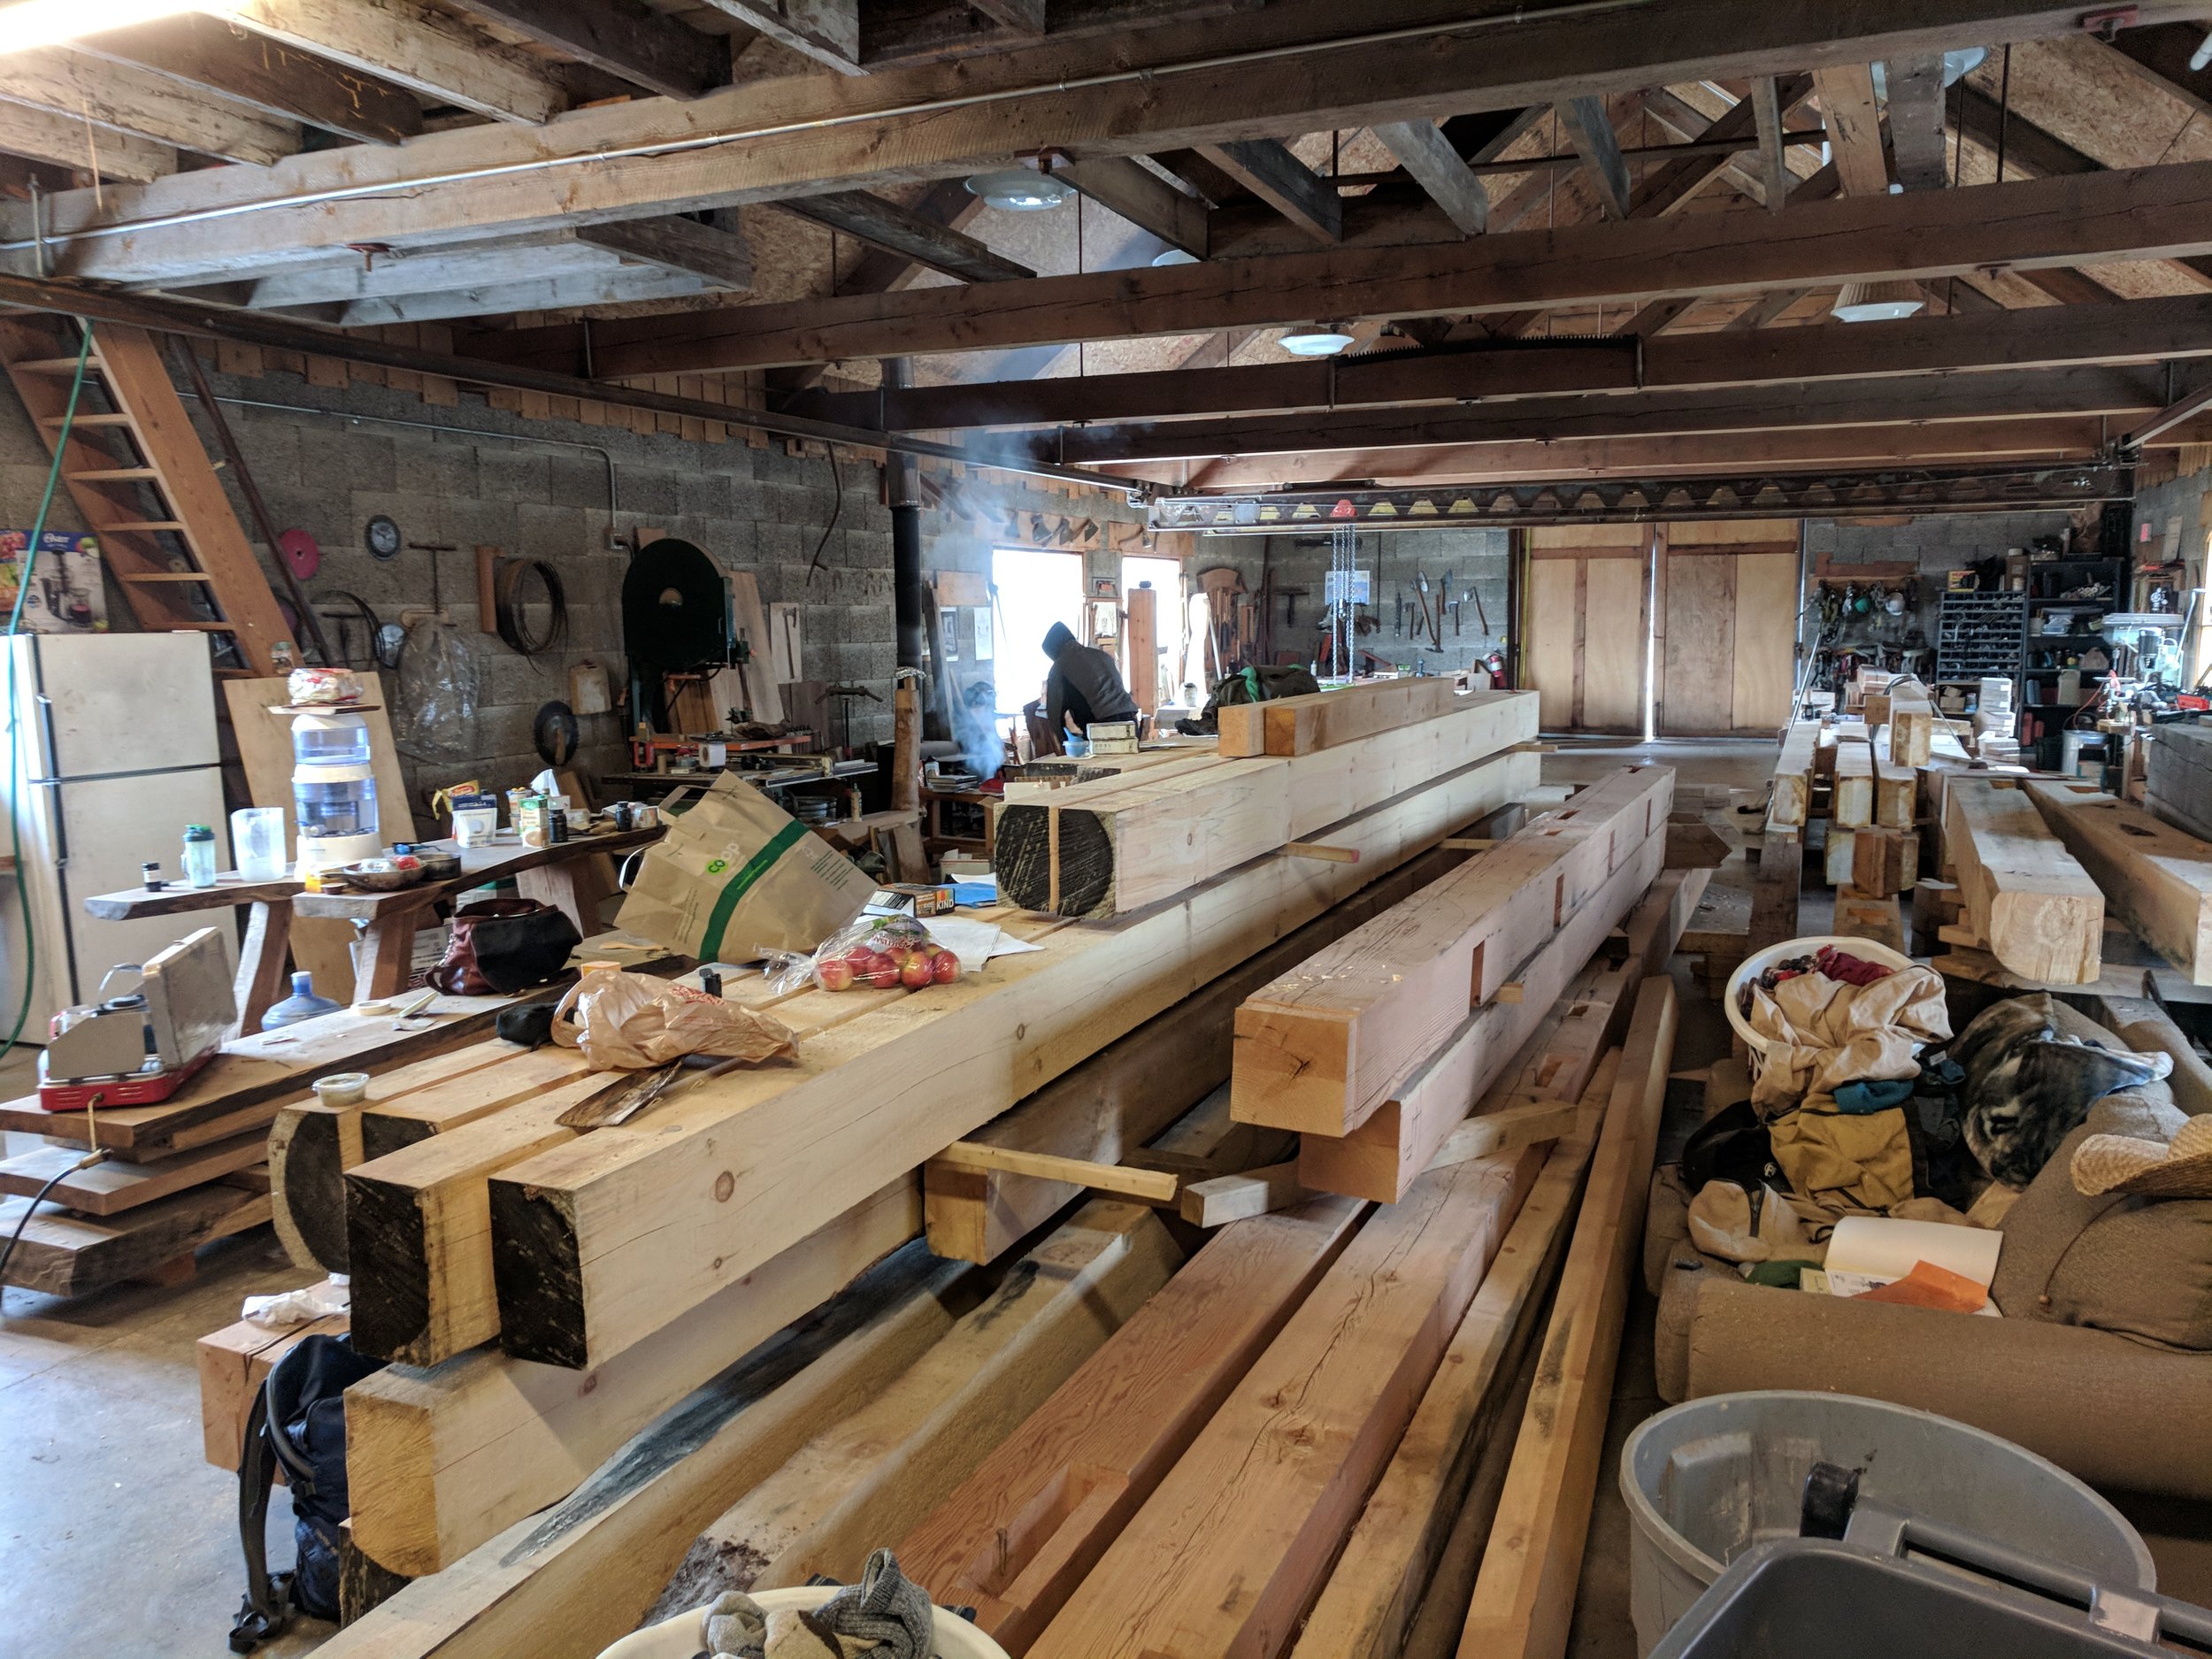
Mike Yaker's Workshop

There's a lathe in there.
From that board I cut two 2' lengths. These will be the poppets. The remaining 5' will be the lathe bed. In the centre of the bed I cut a 3" wide, 36" long slot. I used a chainsaw, but I think a circular saw would have been better, leaving a nicer finish. I had quite a bit of tidying to do after the chainsaw work was done. I tidied up the slot with a chisel and drawknife.

Cutting the slot
I also drilled 2" holes for the legs. The legs are ash, leftover pieces from the same tree my first lathe was made from. If you can find some 2x2s (that are actually 2") I'd recommend that. I used an battery powered drill and forstner bit. The limited battery life on my chainsaw and drill is part of why it took me so long to actually finish the lathe build. The battery would run out, I'd put it in the charger and get distracted with another task.
The poppets start the same size, but you want one to sit lower than the other to accommodate the tool rest. So one gets a 12" tenon, and the other gets a 16" tenon. You want these to sit snuggly in the slot you cut in the base, but not so tight it's difficult to move them back and forth. The poppet tenons need slots cutting into them for wedges. These slots need to be positioned such that the wedge will bite against the underside of the lathe bed.


The poppets need metal centres inserting. The taller poppet gets a straight centre inserted to the face, the shorter poppet gets a 90° centre inserted to the top. It's important that the centres are properly aligned. You want them positioned relatively high to accommodate larger bowls.

The position of the metal centres dictates where the tool rest will go. You want the tool rest to be more or less level with the metal centres. The taller poppet has part of the rest attached to the back of it. You want this to be fairly sturdy as you'll be putting some weight on the tool rest. The shorter poppet has a swing arm attached, where the tool actually sits. I found that you don't want this to be too large, as it's handy to be able to comfortably grip the tool rest as a way of pinning the hooks in place.


The pedal system is a roughly 2'x1'x2" box with an offset spike that acts as a swing hinge. The pedal itself is small plank, wide enough to comfortable press down on. Personally I think this one is a little short, so play around with lengths to find what's right for you. The rope is tied to the pedal and goes up to bungees. Here I use a bit of leather so the rope doesn't bite into the bungees.


While I've tried to include measurements, none of them should be taken as the be all, end all. This kind of contraption should be made to fit your personal dimensions. It's a very simple thing to put together, but it does require some elbow grease. Once you've got it up and running, be careful to listen to your body as there will probably be adjustments you need to make.
If you enjoy the content of this site and find it to be useful, help me to be able to spend more time on similar articles by becoming a Patreon.