Spoons and Painted Boxes
Apprenticeship Day 28
Here at Woodspirit Handcraft, the staff members communicate solely through the medium of social media posts. Jarrod Snapchats me when he wants a cup of tea and Jasmine regularly tweets Jarrod questions about orders and deliveries. So I wasn't surprised that after I made this Instagram post Jasmine invited me to observe how she finishes the things made down in the workshop.
Things turned or carved in the basement sit down there for a while drying. Once they're dry they head upstairs and into Jasmine's care. Jasmine has a very organised setup, with a nicely laid out production line of wooden things at various stages of treatment. Once they're sufficiently dry most things get a light sanding with some 220 grit. Jasmine is careful to not remove the tool marks, but it does help with the slight fuzziness that inevitably occurs across the two quarters of a turned object when the tool is cutting against the grain.
Quite a few of the turned items get painted. Some don't and thus skip this stage. Jasmine uses a milk paint base and adds separate pigments to mix the colours. These are all in powder form and need water. They've used oil, but had some issues with waiting for the oil paint the cure. Water is added to the base and carefully mixed until it has the consistency of heavy whipping cream. The pigments are mixed separately, with a little water. Jasmine has found that if the pigments are added directly to the base, it can be a bit lumpy. Pre-mixing the pigments helps get a more consistent colour.
Adding black to green
Water-based milk paint dries very quickly. This makes it easy to apply multiple coats. However it also means the main batch doesn't last. So Jasmine just mixes up enough for whatever is going under the brush that day. The items get two or three coats of paints. Some get an undercoat of one colour and are topped with another. The undercoats gets revealed a little in the next stage.
Once the painted items have been given plenty of time to dry they get sanded again. Milk paint tends to dry with a very coarse, rough surface. Some gentle sanding helps to remove this roughness. With items that have two colours, the sanding helps to reveal the undercoat. General use of the items over their lifetimes will help reveal the undercoat too, but the effect of the two colours requires sanding to emerge. After sanding, they're wiped down with a cloth to remove paint dust.
Left has been sanded, right has not
The items are then sealed by either dipping them in heated linseed oil or a paste wax Jarrod made himself is applied. This is the final step for the items. They're then either left out for the oil to cure, or placed in the drying cupboard, which has some lightbulbs to help the oil set a little quicker.
Red box with black undercoat. Paste wax applied.
Like most things at Woodspirit Handcraft there's a high level of organisation with how the finishing of the wood items is approached. This is batch production done much as it was for centuries. Just with more hashtags.
When I wasn't with Jasmine watching paint dry, I mainly focused on spoons. I axed out the rest of the billets, bringing the total of axed out blanks to 32. I stuck them in the freezer and worked on some lamhogs. I took a six inch 'biscuit' from the the birch veneer log and split it into quarters. On the end grain I scribed a four inch circle and added a handle. I used the froe and then the axe to remove material. These went into the freezer with the spoons.
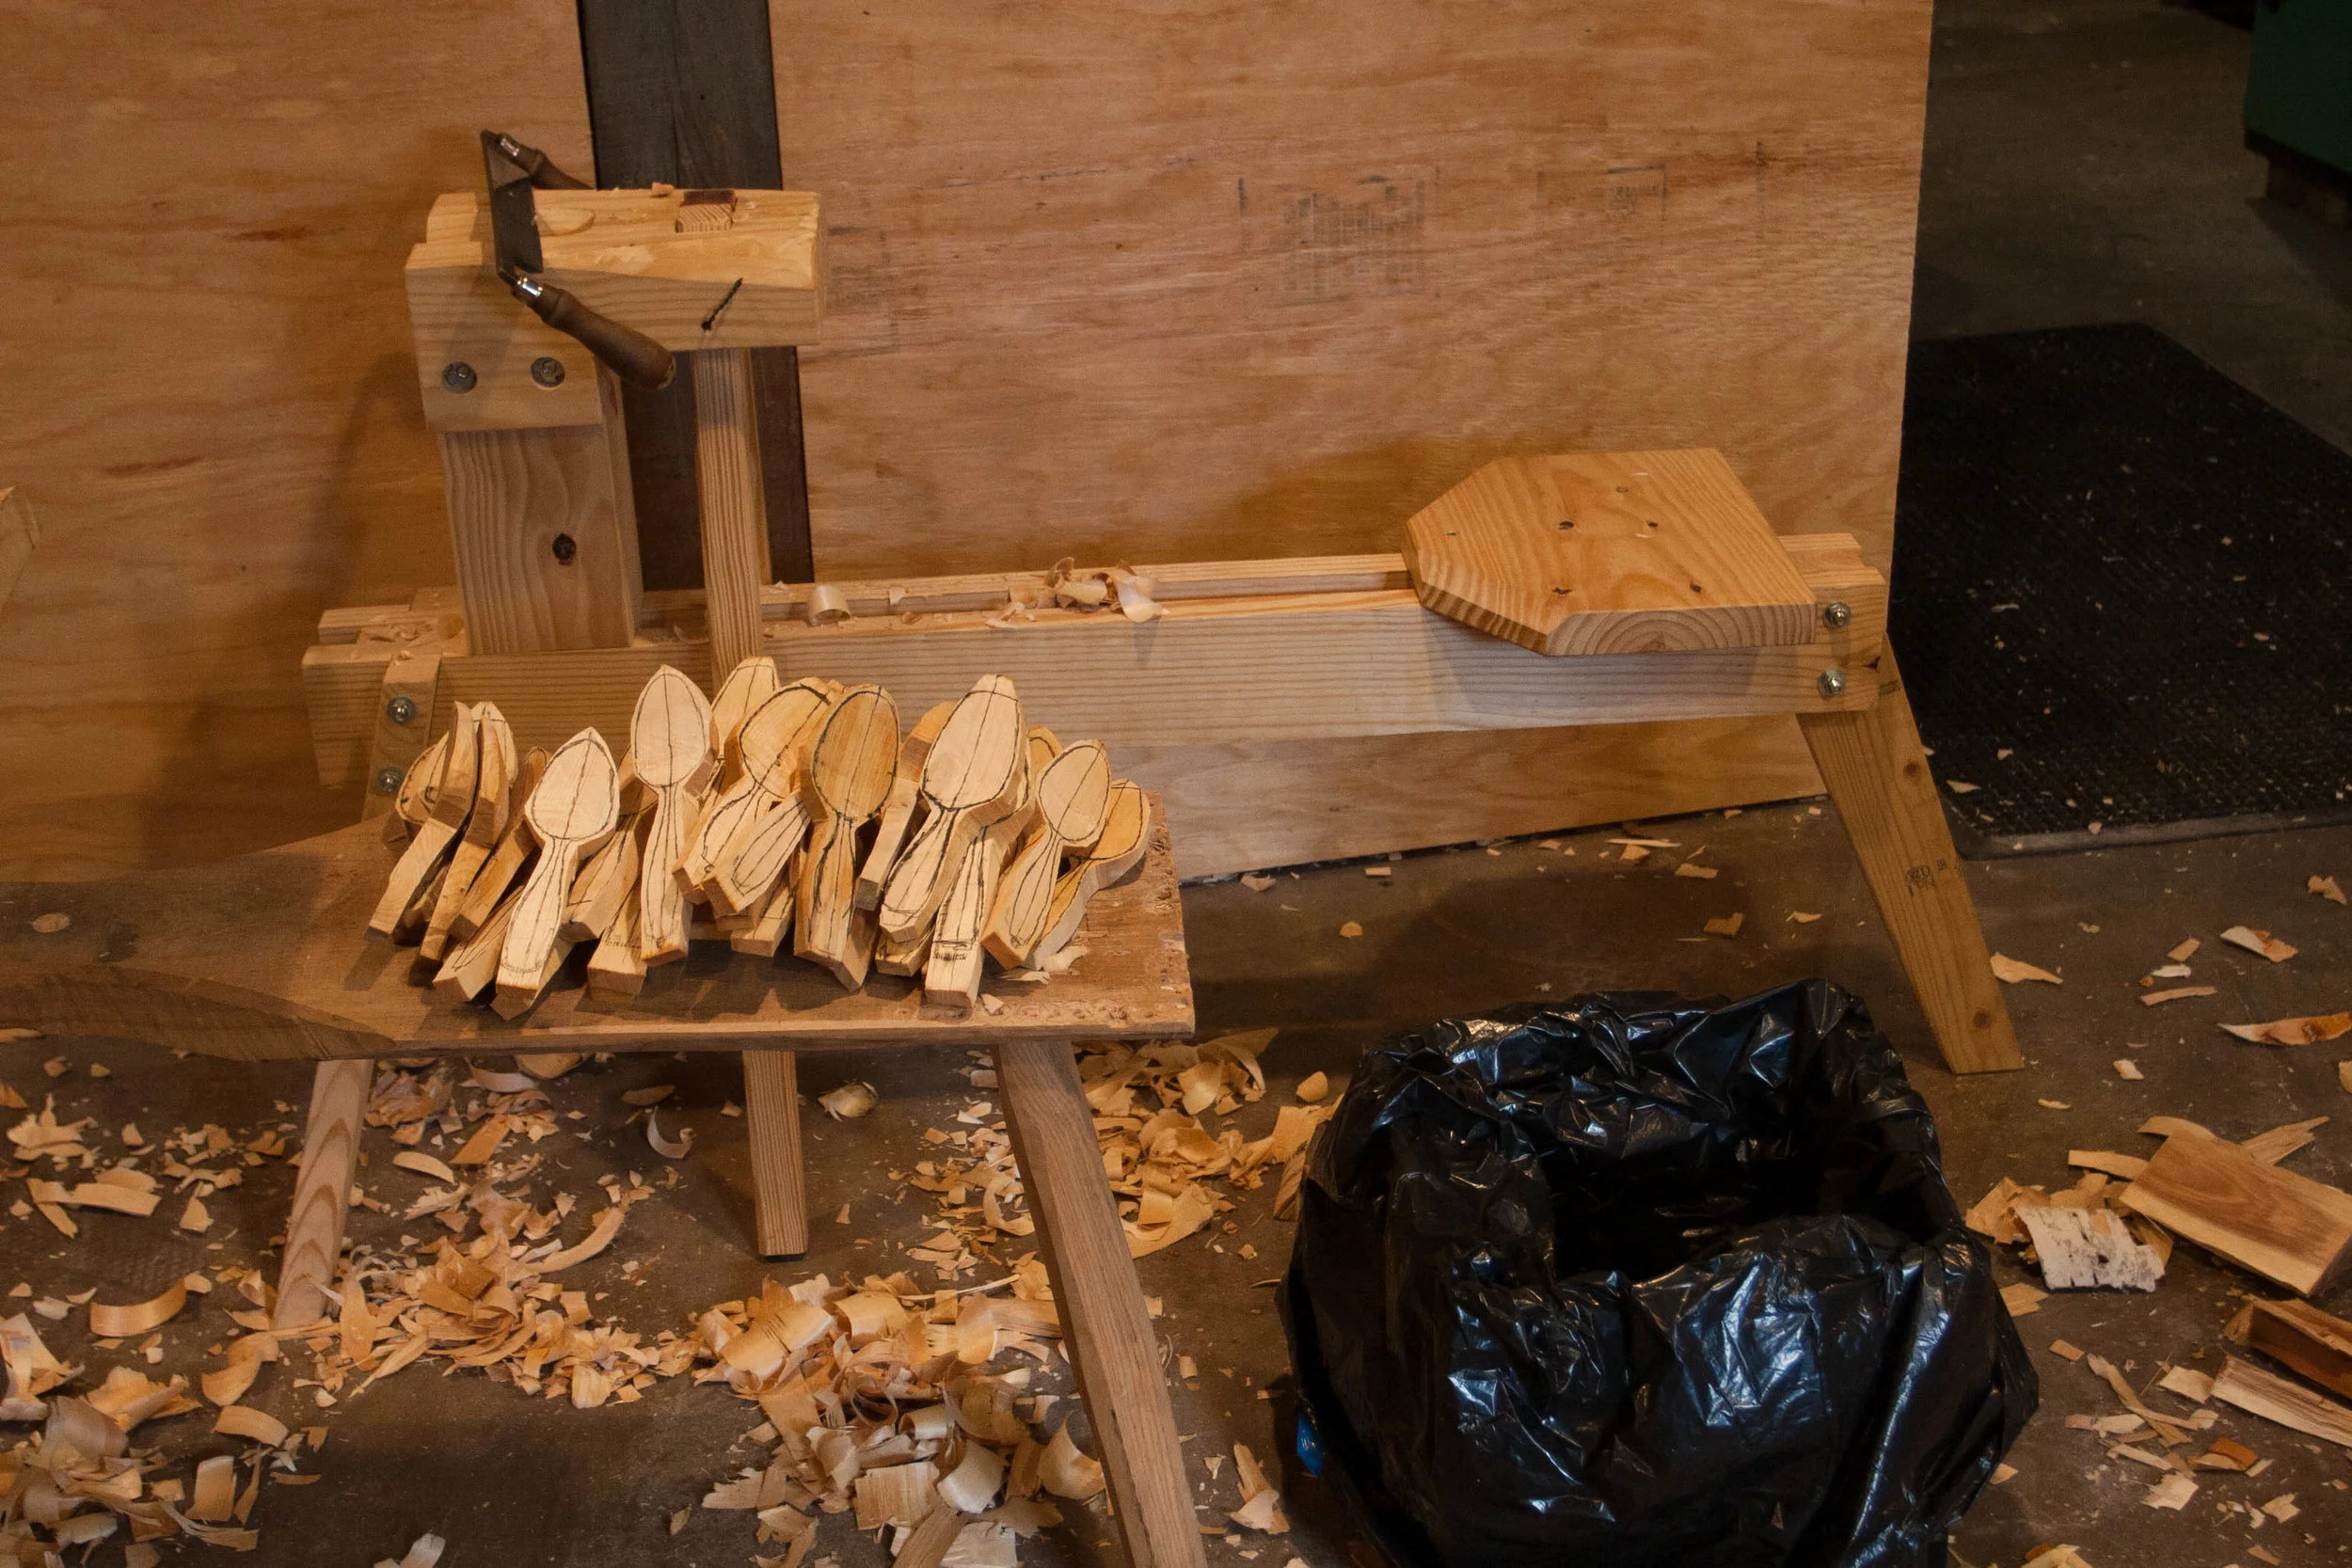
After lunch I went back downstairs to tell Jarrod there was a bag full of spoon blanks for him to draw designs on. However, he was standing next to a pile of spoons, already having drawn his designs on them. Mainly using a drawknife on the spoon mule, I starting removing wood to the line. Some of them required a little axe work. I managed to get ten of them down to the new shapes.
My workstation for the afternoon
Jarrod has tasked me to turn a bowl a day, which meant I had to go out and chainsaw out a few more blanks. The one I put on the lathe today had an unfortunately placed knot. It was close enough to the rim to be worth turning away, but low enough that it results in a much smaller bowl. Still, I was happy with the result. I also tried to turn this one a little quicker, which I think I managed. Let me know what you think.


