Charcoal Making
While this isn't wood carving, charcoal is a cool sustainable product and making it used to be a really process widespread across the UK. It's a great way to use smaller diameter wood that it can be hard to find uses for.
I often help out at Pound Wood, an ancient woodland that's managed by the Essex Wildlife Trust as a coppice site. A common product from coppice woodlands is charcoal. Charcoal is wood with the water removed by setting fire to it and then severely limiting the oxygen it receives. The charcoal from Pound Wood is sold locally. A fantastic British product made very sustainably.
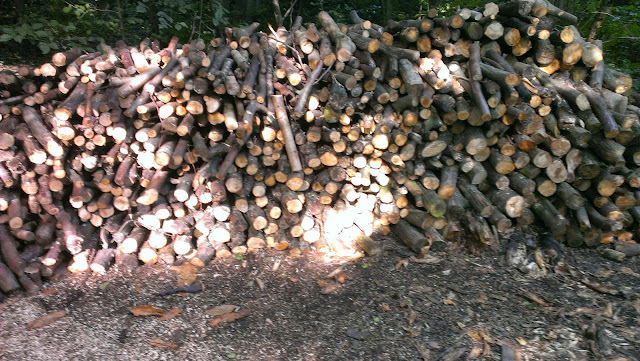
Here's the wood pile that needs to be loaded into the kiln. There are two stacks, one in front of another, about a meter tall and three meters wide. This was all cut to length the week before.
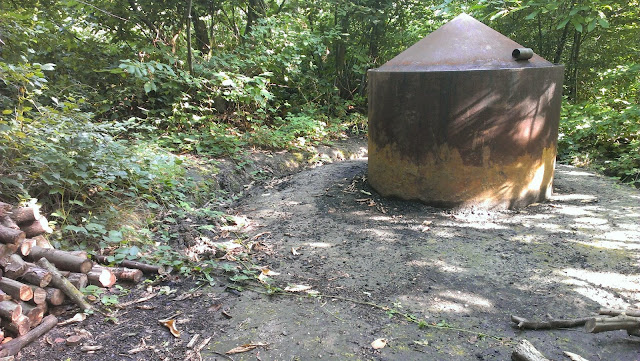
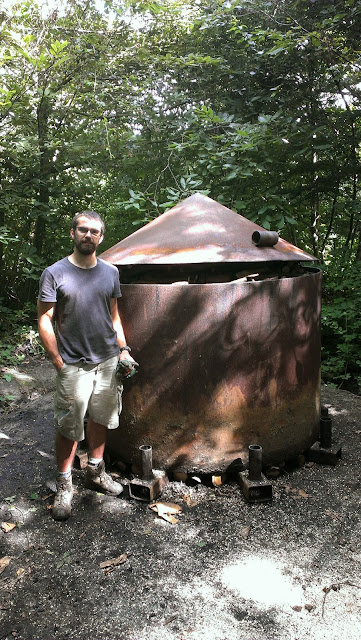
Here's the kiln, in the middle of the woodland.
The white dumpy bag was in the kiln and contained the 'brown ends' from the last charcoal burn. The 'brown ends' are pieces of wood that didn't fully convert into charcoal. They'll be used as fuel in this burn. In front of the kiln are two of the vents we had to place under the kiln at regular intervals.
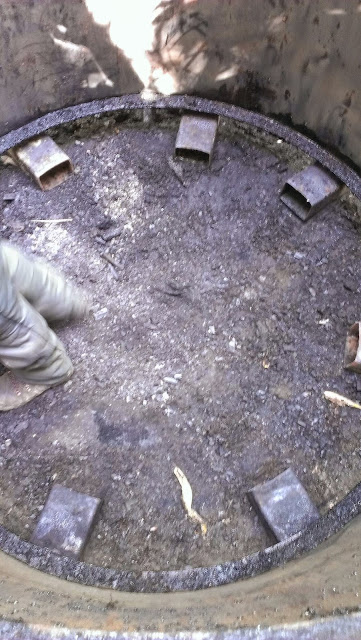
There are eight vents. During the burn four will let air in and four will have a chimney attached for smoke to escape. The first layers of wood need to be laid in a way that leaves a channel from the vents to the centre of the kiln.
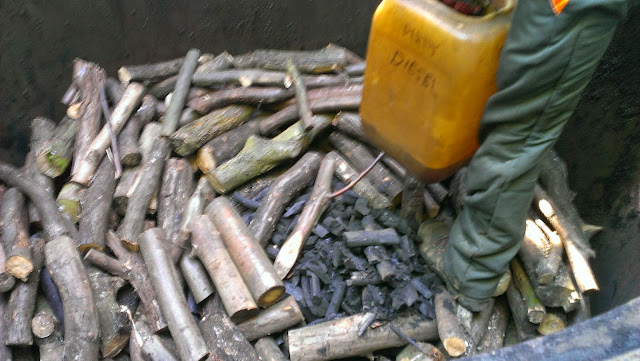
Here wood has been stacked around the outside, with diesel soaked 'brown ends' in the middle. The wood is stacked as closely as possible together to limit the flow of oxygen. If too big a gap is left, the wood around that gap is likely to burn and get consumed, instead of converting to charcoal.
We continued to fill the kiln and around the point the wood reached the lip of the kiln, the pile of cut wood we had ran out. Had more small diameter available and cut that to length and finished stacking the kiln.
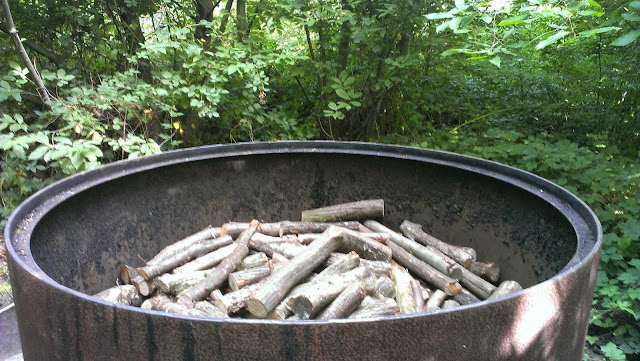
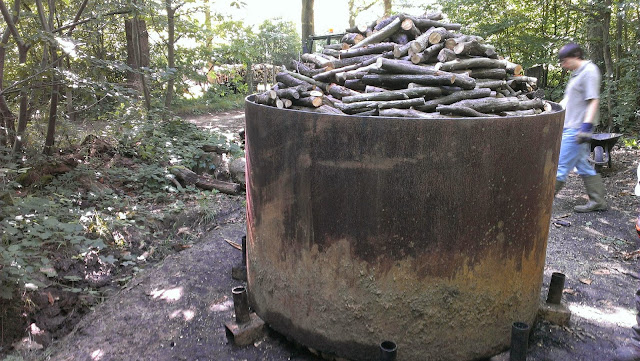
The kiln is filled to leave as few gaps as possible. It's actually slightly overfilled, but the volume reduces as it is converted into charcoal.
Here's the kiln ready of lighting.
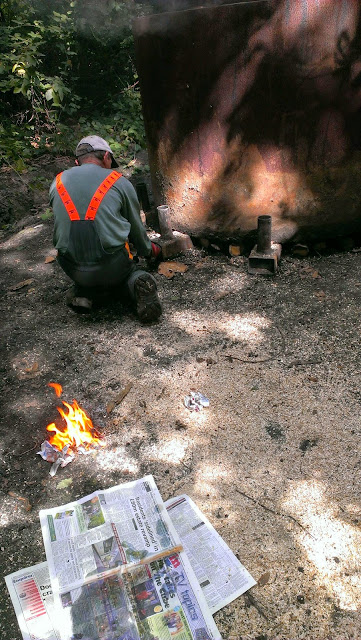
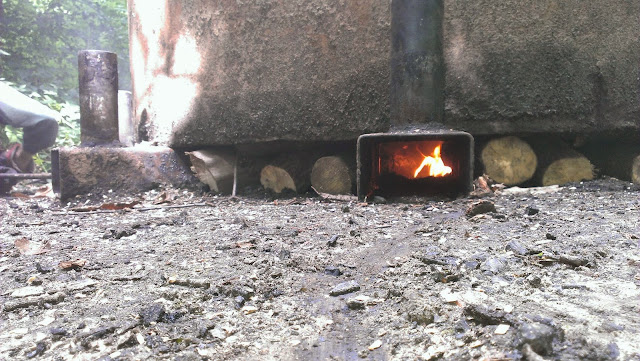
Using diesel soaked fabric inserted into the vents, the brown ends are lit.
It doesn't take long for the fire to really get going.
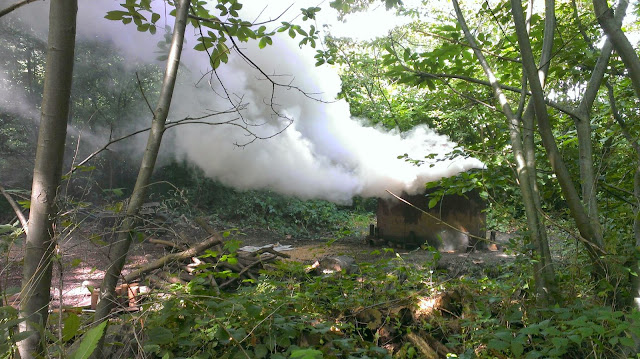
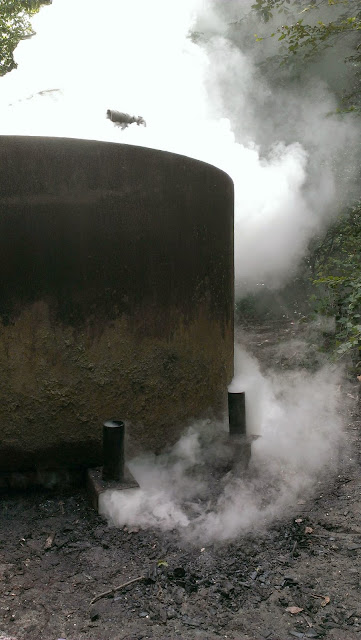
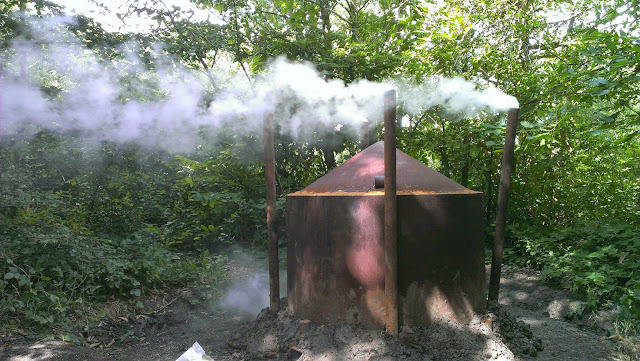
Most of the smoke is actually water vapour. We let it burn for about 45 minutes, until the lid fit snugly against the rim.
We put caps on four of the little chimneys, making them air-intakes. The other four had the vent blocked and a chimney tube attached. After eight hours the chimneys and vents will be swapped around to 'reverse' the direction of the burn, which will hopefully ensure as much wood is converted into charcoal as possible. The entire base is sealed using a liberal amount of clay dug from the ditch around the kiln. The lid used to be sealed with clay as well, but it turns out that sand creates a better seal.
The kiln will be left for eight hours, when the chimneys and vents will be swapped around. The kiln will burn for a further 8-10 hours and then will be shut off. It will be left for a week before being unloaded.
